South Pacific
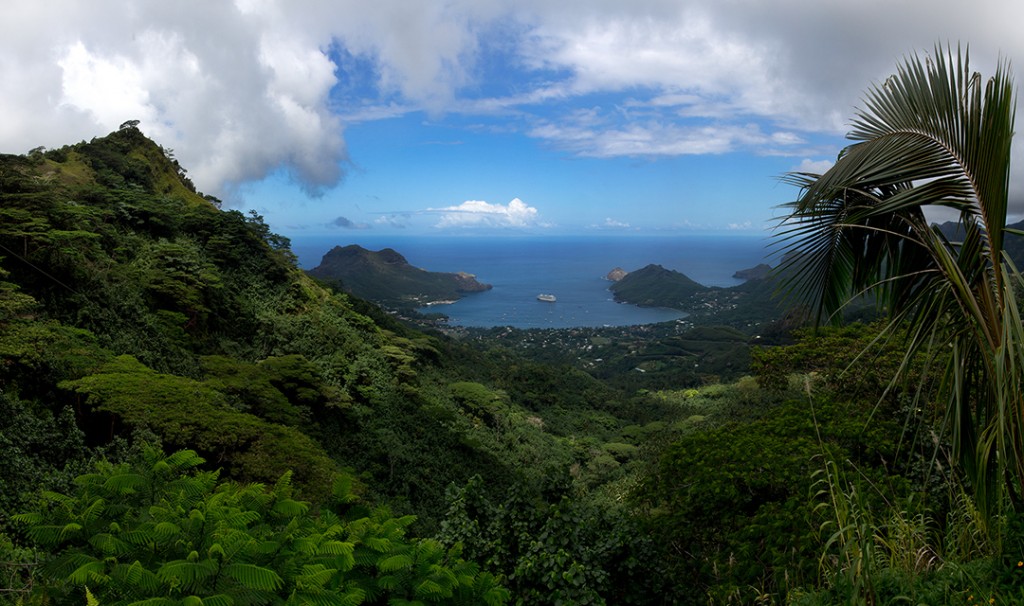
panoramic image of harbor on Nuku Hiva
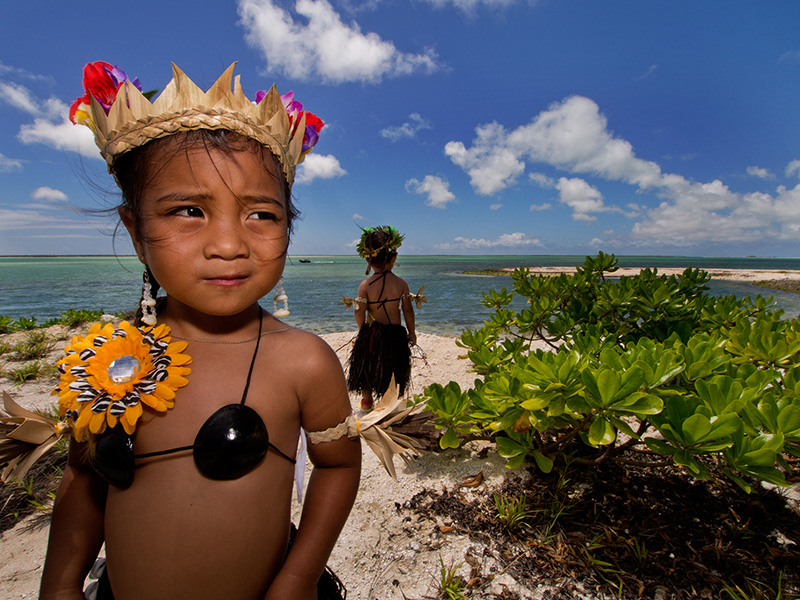
Two young dancers on Christmas Island
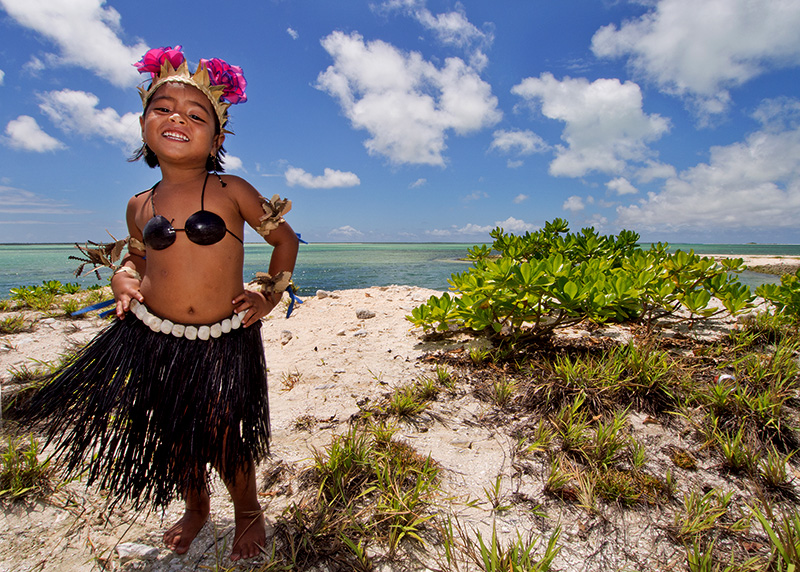
Young dancer on Christmas Island
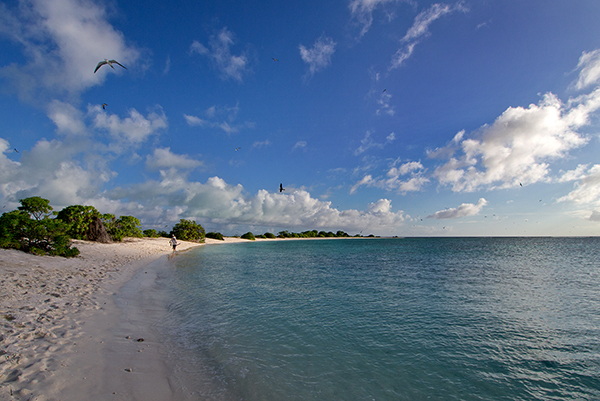
Cook Island
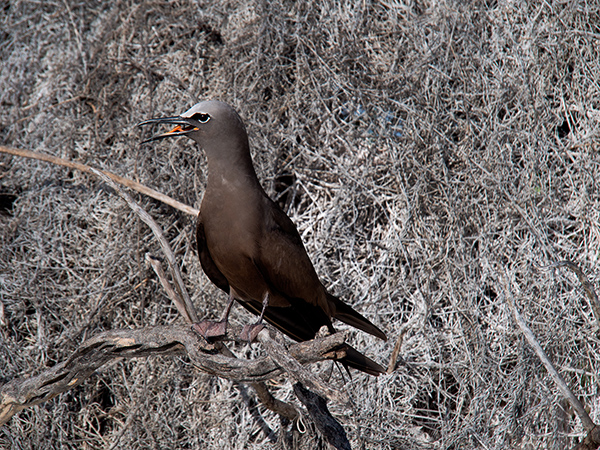
Bird life on Cook Island
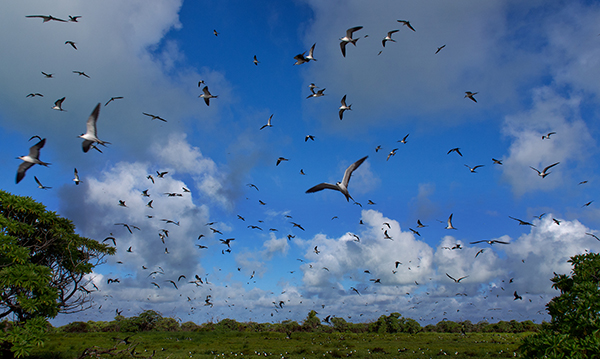
Bird life on Cook Island
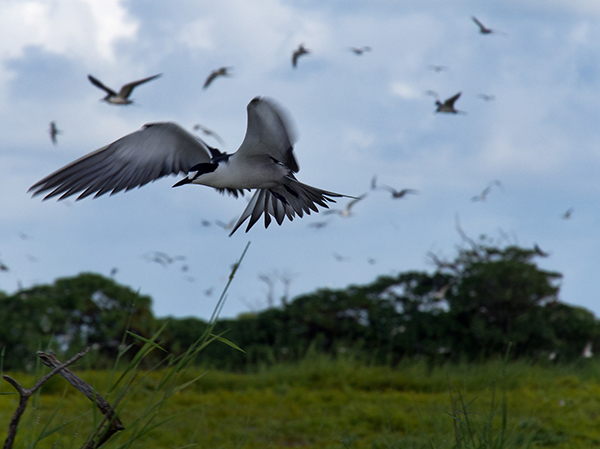
Cook Island
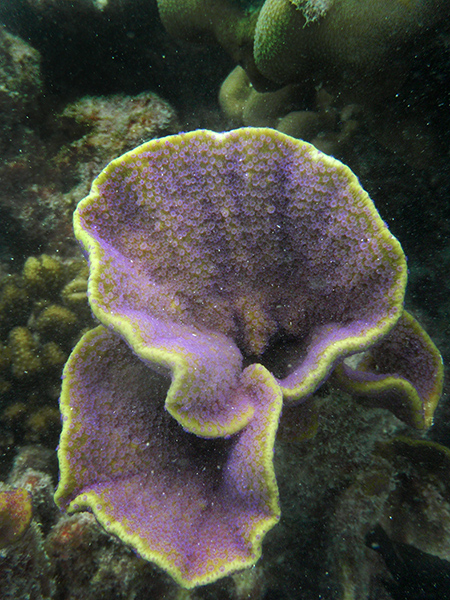
Reef life, underwater near Cook Island
On assignment in the South Pacific, landed in Papeete, then a flight to Nuku Hiva in French Polynesia. I’ve been shooting this entire trip, except underwater (can’t wait for the housing) with the Olympus OM-D. I really believe this camera and it’s incredible form-factor is the future of photography. The OM-D E-M5 is a weather resistant, solidly built body that just feels great in your hands. I’ve been using the HLD6 power battery holder, which provides that great function of a vertical shutter release. Shooting both RAW and jpeg, the camera is very fast, and in fixed focus, can operate at 9 fps. With tracking it will accommodate 4.5 fps. I’ll be posting a more in-depth reaction to the camera in a later blog.
On this assignment, in addition to Papeete (barely made my connecting flight) I traveled to Nuku Hiva, Millennium Island, Kiritimati, Cook and Fanning Islands-a couple of those landings were not possible due to weather. What I love about the South Pacific, most of it looks as you would hope it would look: beautiful atolls, aquamarine waters and the appropriate trees… On Christmas, my shooting time was quite short and the time of day was not the best. The top two photographs of the little girl dancers were taken on Christmas, and are the subjects of the discussion below. However, this is often the reality of travel photography and provides a window for a discussion of shooting in these less-than-opportune times. What do you do when your experience in an amazing place is limited to those hours around “high noon”, with harsh light and extreme contrast?
1. Take control of the situation I was on Christmas Island, there were locals performing dances and drumming under the palms…or coconut trees, with that filtered light providing not the best lighting conditions. I sat and listened for a while, which gave me time to determine which of the beautiful kids I wanted to ask permission to photograph in a better area. When there was a lull in the music, I approached the obvious leader of this group, and asked if I could, with their assistance and help, move two of the little girls to a point near the lagoon that provided both a great background and a bit of backlighting.
2. Watch your light The light around the lagoon where we were located was harsh, BUT it was just a few degrees west of being totally vertical. I found that great background, and at the same time I determined where the light was falling…by using my hand held vertically, I saw that if I posed my subjects with their backs to the water, I would find just enough shade on their faces.
3. Use that flash you carried with you Almost being counter-intuitive to shooting in intensely-lit environments, your flash can make the difference in a photograph and a forgotten attempt. Using that fill in light can bring the light value up on your subject, providing a very smooth light and a balance between foreground/background.
4. Set the cameras ambient exposure A great time to shoot in manual exposure, as you’ll want the exposure on the background to be constant, shooting in Program, Aperture or Shutter can alter the exposure to less than ideal. Think about establishing your exposure without the flash initially. This will provide the perfect background, I find that generally my background looks best if about a half stop underexposed.
5. Set your flash to TTL Before you leave on your trip, work a bit with that flash to see if the TTL or auto exposure is where you want it to be…I’ve found that most flash units come from the factory biased a bit towards overexposure. In other words, it’s too bright. You’ll need to experiment with this, the worst time for that experimentation is in the field….do this at home, where you have the time to get this figured out. I always carry a cord that the flash attaches to and the other end goes to the camera’s hot shoe…this allows you to move the flash off-camera, which can help create a more pleasing, more specific style of lighting. I also have a small warming filter taped over the business end of the flash, which makes that light a bit more “golden hour”-ish. Also, use that diffuser that comes with your flash, or buy an after-market diffuser. These simply fit over the end of the unit, which helps soften the light.
6. The closer the flash, the softer the light This maxim will always hold true…I’ve seen so many aspiring photographers use those clever mini-softboxes, with expectation of great lighting…only to be disappointed by the harshness of the light…they had the flash unit too far from the subject. The light source became a point light source, which is harsh. Think of the sun at noon, it’s a very intense light source (from a pretty far distance) that produces a very hard and contrasty light. Now think of that same sun, late afternoon in a tropical environment. That humidity in the air, and the low angle of attack of light(going through more atmosphere and often pollution) essentially creates a huge light box, which allows the light to “wrap around” the subject providing that beautiful, soft light.


