The Galapagos, 2010
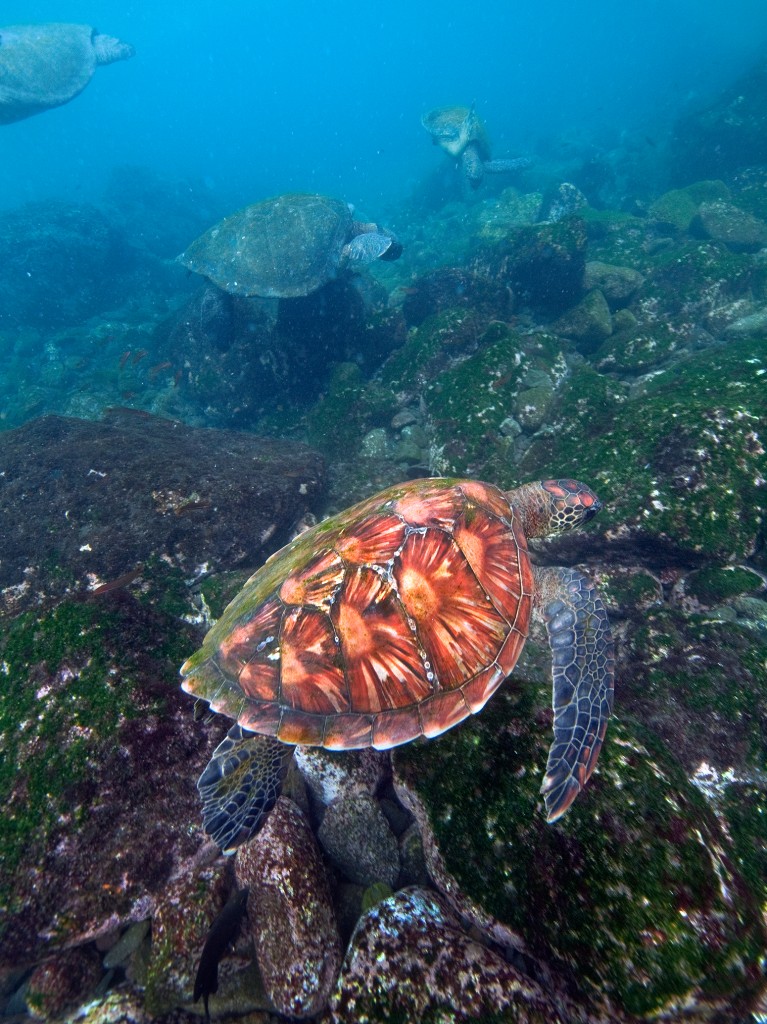
a young sea turtle, it's shell not yet covered by algae
It was with a lot of excitement that I headed back to the Galapagos Islands, May 2 – May 16 of this year. Having traveled there in 2009, I knew the photographic potential of this place.
The Galapagos are remote, but not all that difficult to reach. One has to go through a group, as Park regulations dictate that every visitor needs to be accompanied by a registered guide in addition to having a permit. I was traveling aboard the National Geographic Endeavour in the same capacity as last year: the onboard National Geographic Expert and lecturer.
These trips are often sold out a year + in advance, so if you are considering going, plan ahead! The Geographic/Lindblad trips are incredible, as the naturalists aboard are not only top-notch, they also have a deep and thorough passion for this unique part of the world.
One potential issue with some travelers: weight restrictions for the flights from the mainland of Ecuador to the islands can (the operative word here) be tightly restricted in regards to luggage weight. A 40-pound checked bag in addition to one 22 pound carry on can be applied to your bags, so pack accordingly. What you’ll find is a very relaxed dress code, so consider a couple of pair of travel pants (those zip-off legs work well) and just a few shirts in addition to a swimming suit as you do NOT want to miss the underwater world of the Galapagos. Sandals and a pair of good walking shoes will round out your minimalist ensemble.
Cameras should include two bodies and lenses ranging from a wide-zoom to a medium telephoto. Darwin was right when he discussed adaptation of the species, as the wildlife in the islands won’t move out of your way, unlike just about everywhere else you’d travel. Paths are often blocked by sea lions, blue-footed boobies or albatross leisurely making their way along the same avenue. When snorkeling, you’ll be buzzed by pirouetting sea lions, who’ll swim straight towards your mask, spinning off at the last second. I’ve had several penguin swim up to the domed port of my underwater housing, and peck at the reflected image of themselves. White tip reef shark may cruise by you as you swim along or a school of barracuda.
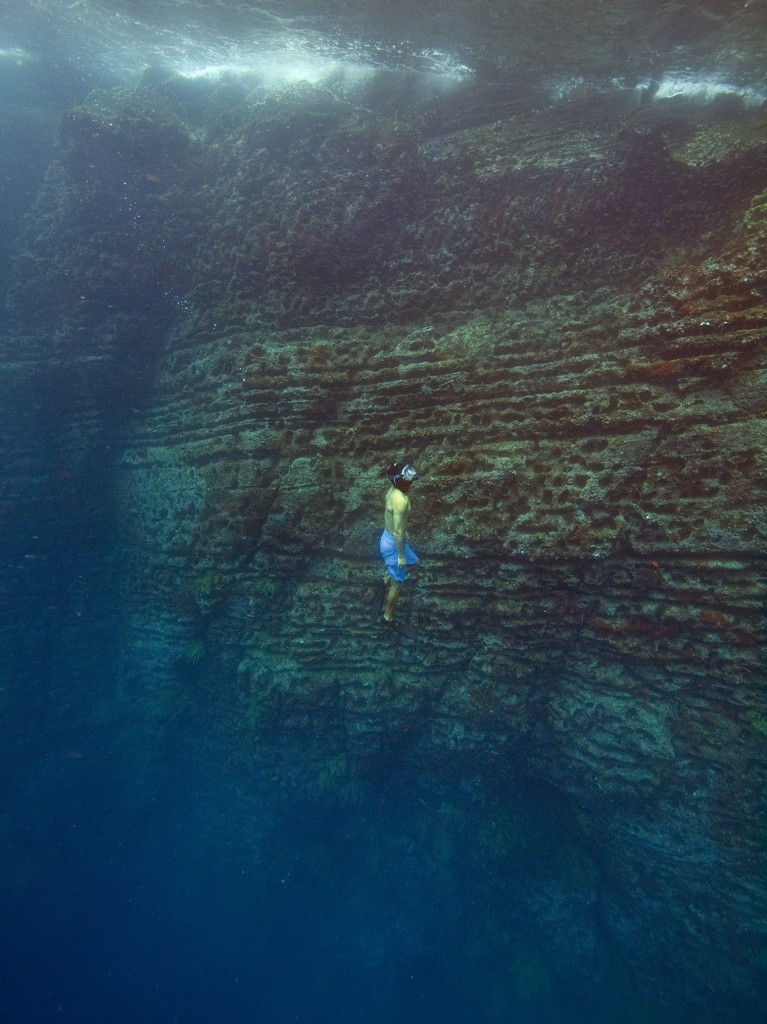
Lindblad naturalist Fausto swimming up a wall off of Cerro Dragon
A small tripod with a good ballhead are invaluable, as are neutral density graduated filters, as the dynamic range of light to dark can be dramatic on these islands that straddle the equator.
Tips for photographing wildlife in the Galapagos:

Female Giant Tortoise
Guides/naturalists have walked the same paths in the islands for years, so you will be in the steps of many travelers before you. This works to the benefit of the photographer as the animals have become fearless and won’t hesitate to get close to you. A 600 f4 is major overkill here, I found a lens in the 100-400 range as ideal for the majority of wildlife. Fast lenses work well, as many of the photographic excursion will be early morning or late afternoon (please note: the earliest you can go ashore in the islands is sunrise, the latest you can stay on an island is sunset, the park can and will strictly enforce this rule, your guide will be the one to pay the literal price for this as the fines for abusing those rules are expensive) If you don’t own a lens that will work well, consider renting. Or, if you have a 70-200 lens, consider renting or buying a good quality 2x extender. Those two bodies I’d suggested allow you to keep that wide zoom on one camera, the telephoto on the other, allowing you to quickly change as the situation dictates. A small fanny pack or vest will top off all you need to bring ashore.
Don’t shoot and run. One reason to consider a photographically based excursion is that awareness of what the photographer is looking for and how it takes some time. But, you will be limited in a degree as your group cannot “hog” the road, stopping the next group coming up from behind. You will have a pretty good window of time to watch those mating albatross and their bill-clacking ceremony, or the blue-footed booby and their comical dance. Keep your attention on your photo subject here to take advantage of those moments that occur so quickly.
Don’t shoot everything from your tall perspective. Get down on ground level, which can help you produce that image that creates a sense of intimacy with the subject. Same as photographing kids, get on their level. The “Live-view” function on many higher-end DSLR’s can really allow you to put the camera on ground level while framing and focusing from above.
You cannot use flash in the Galapagos, and the use of a reflector will be decided upon by your guide. I always carry a small reflector, preferably the gold/silver version which is very efficient in “bouncing” or reflecting the light, and the gold provides just that right amount of warmth to add life to a photo. Reflectors are great as they are very “analog”, in other words, what you see from the light reflecting is exactly what you’ll get.
You’ll have a ton of opportunities to photograph birds in flight: frigates to boobys, albatross, tropic birds, gulls and terns. If you haven’t photographed birds in flight before, a good practice drill is to go in the back yard or park and photograph birds flying by. It’s not as easy as it looks, but once you have practiced this, it does become much easier. The consecutive or “burst mode” on the camera is ideal for this type photography. I’ve also found that the center sensor only on you AF mode works well, as most photographers tend to place a fast-moving subject in the middle of the frame, and having the center focus point-only-enabled often produces faster focus times.
For those interested in bringing an underwater camera, the wider the lens the better. Conditions underwater in the Galapagos can vary dramatically, going from only a couple of feet of visibility up to 30-50 feet of visibility. A lens, if not “corrected” for underwater, will become a bit more telephoto due to refractive issues. You may have seen the “bubble” looking lenses on underwater housings, those correct for that refractive error, allowing your 24mm lens to provide you that 24mm perspective. I’ve been using the Olympus E-620 in a dedicated Olympus underwater housing, and the smaller size of that 12.2 megapixel body allows the housing to be just that much smaller. I don’t shoot with a flash underwater in the primarily shallow conditions, so that weight is eliminated (the deeper the diver goes underwater, the more rapidly “warm” colors are eliminated from the visible spectrum, by the time you are 75’ deep-scuba diving-the scene is recorded with almost no reds-yellows-oranges, unless you use a flash setup to “bring” the colors back) An Olympus 7-14mm is my lens of choice for underwater in the Galapagos. It allows you to get close enough to your subject so you also don’t have the issue with the particulate matter occluding the subject..when you press the shutter, all that stuff floating in the water is “frozen” which reduces the effective distance you can photograph underwater.
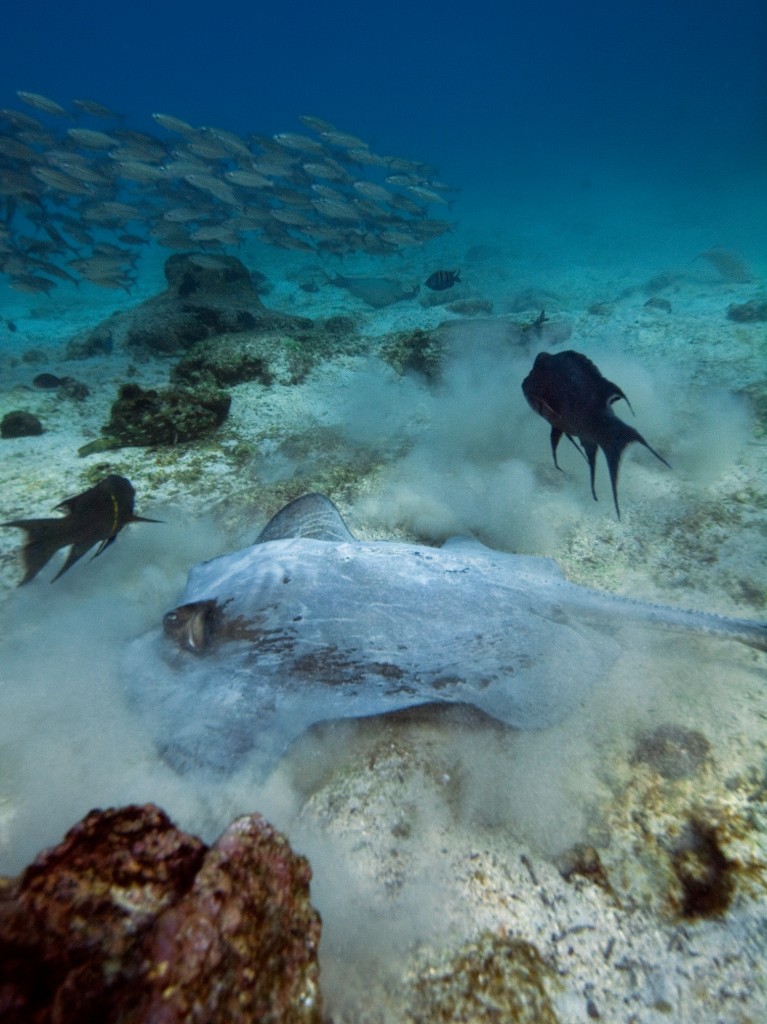 a ray lifting off of the sea floor near Sombrero Chino
I also suggest, if possible, bringing along a laptop to download to as well as an external hard drive (two if possible, or a small “RAID” system) You will shoot more than you thought possible, and being able to confirm those images as well as rename and keyword at the time is invaluable. I walk into my cabin from every outing, the first thing I do is plug my card into my card readers, download, edit out the obvious, batch rename the entire group and keyword. This is an invaluable habit to set, as you more likely than not will NOT go back and keyword as efficiently at a later date.
If not a laptop, and for further weight savings, consider a “JOBO” Giga Vu Pro Evolution databank, a paper-back book sized databank with a compact flash slot and a very high quality viewing screen. In this device, the photographer can also rename and keyword images, as well as copy your files to that additional hard drive you’ve brought. You didn’t forget that critical part of that redundancy back up, did you??
Above all, when you are standing on Fernandina Island at dusk, golden light pouring over the marine iguanas on the black “poehoe” rope lava, take a few minutes to take in the scene..breath in the ocean odors, listen to the sound of sea lions, and remember that you have set foot on a special corner of this earth.
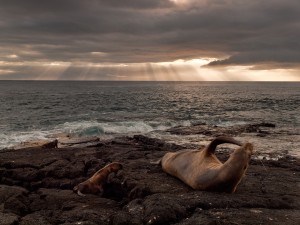
One additional bit of information: I always Singh-Ray Neutral Density Graduated filters with me, here’s the perfect example. Late afternoon on the island of Santiago, we came upon a female sea lion with a wandering pup (don’t think it was hers) and a marine iguana…one of those scenes your eye can see that extreme dynamic range, but beyond the capability of the camera to capture. I used two filters here, a “hard step” and a “soft step”, both 2-stop gradation, to “bring down” the sky’s value. On the left, before, on the right, after.


